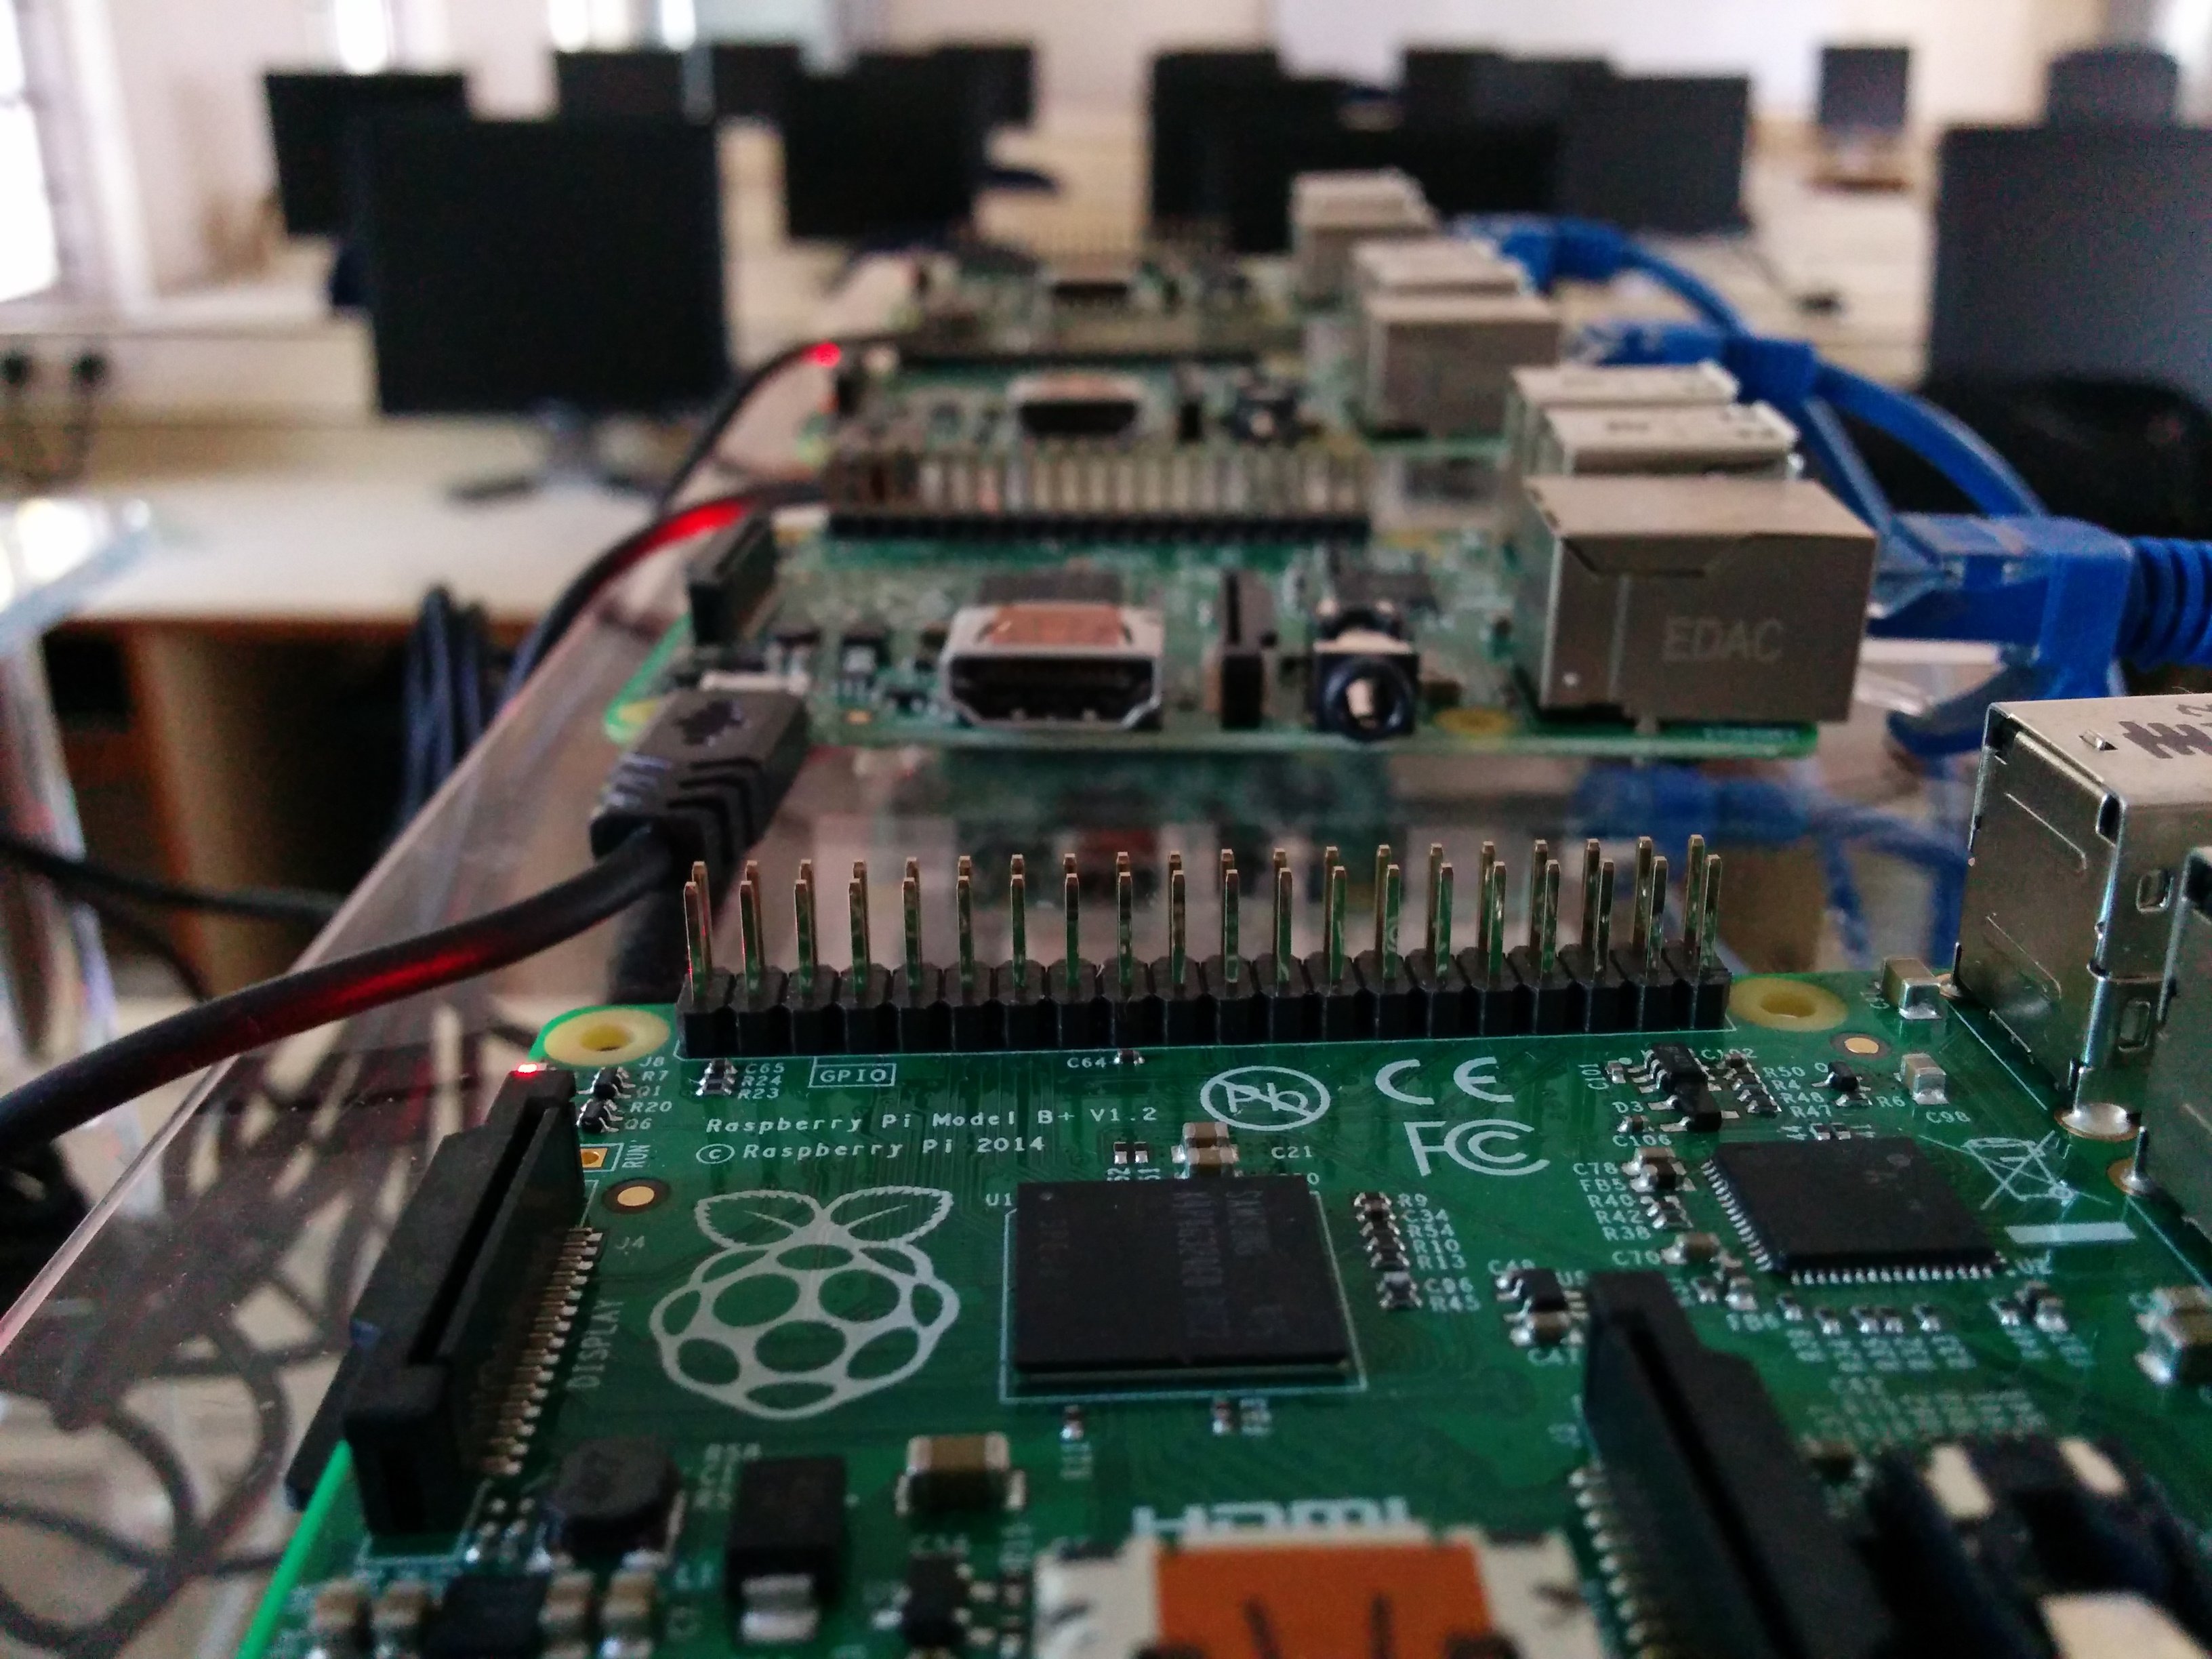
Building a Raspberry Pi cluster is hard work and requires a lot of time and patience. My team and I built a 70 node cluster and this is one of the most amazing Raspberry pi projects that I have worked on. Distributed programming is a must on clusters and for our cluster we chose the MPI4py ( MPI for python ) library. In this article, you will learn how to build MPI for python library.
This tutorial assumes that a raspberry Pi cluster is running the latest Raspbian OS and the MPICH2 interface is built and is operational.
One line shell command can install mpich2. However, it will fail.
sudo apt-get install python-mpi4py
This will install the mpi4py, but when its run to execute, it fails or crashes. Developers who have installed MPICH2 interface in their cluster will experience this error. The reason why it crashes is, unknowingly, the command above will install instances of openMPI. OpenMPI is a different interface that clashes with MPICH library. A system is usually designed to run only one interface and when there are multiple instances running, it leads to a system failure.
To avoid this failure and the tedious task to restore the operating system back to its previous state, a workaround exists. This would be to build the mpi4py manually on each of the nodes in the cluster.
The following are the steps to build it:
1) download the mpi4py package.
curl –k –O https://mpi4py.googlecode.com/files/mpi4py-1.3.1.tar.gz
We can use wget instead of curl but I couldn’t find an option that bypasses the certificate issue that hasn’t been resolved by the website maintenance team.
2) Unpack it. And change to that folder.
tar –zxf mpi4py-1.3.1.tar.gz
cd mpi4py-1.3.1.tar.gz
3) Get all dev tools setup and ready
dev tools install important header files like python.h which we require during the build.
(Skip this step if you have already setup the python-dev tools)
sudo apt-get update –fix-missing

sudo apt-get install python-dev
4) Now, we can build the package.
cd mpi4py-1.3.1.tar.gz
sudo python setup.py build --mpicc=/usr/local/mpich2/bin/mpicc
Note the following things.
- The location of the MPI compiler is provided by using the –mpicc option.
- If the location of that compiler doesn’t already exist in the system path, only then use the –mpicc option.
- /usr/local/mpich2/bin/mpicc is my build path for mpich. Replace it with the path on your device.
The only thing now left do is to install the build.to install change working directory to mpi4py:
cd mpi4py
After shifting to this directory, run the command:
sudo python setup.py install
Repeat this process for every other node in the cluster. Then the demo program HelloWorld.py can be run to test if mpi4py is installed on all the node successfully and is running correctly.
If the nodes of the cluster aren’t already built, then the easier way to do it would be to perform the above procedure on one node and read the entire image of the OS and write it into the SD cards of each of the other node. This would eliminate building of mpi4py package on each node individually.


One thought on “How to build MPI for python on a Raspberry Pi cluster”