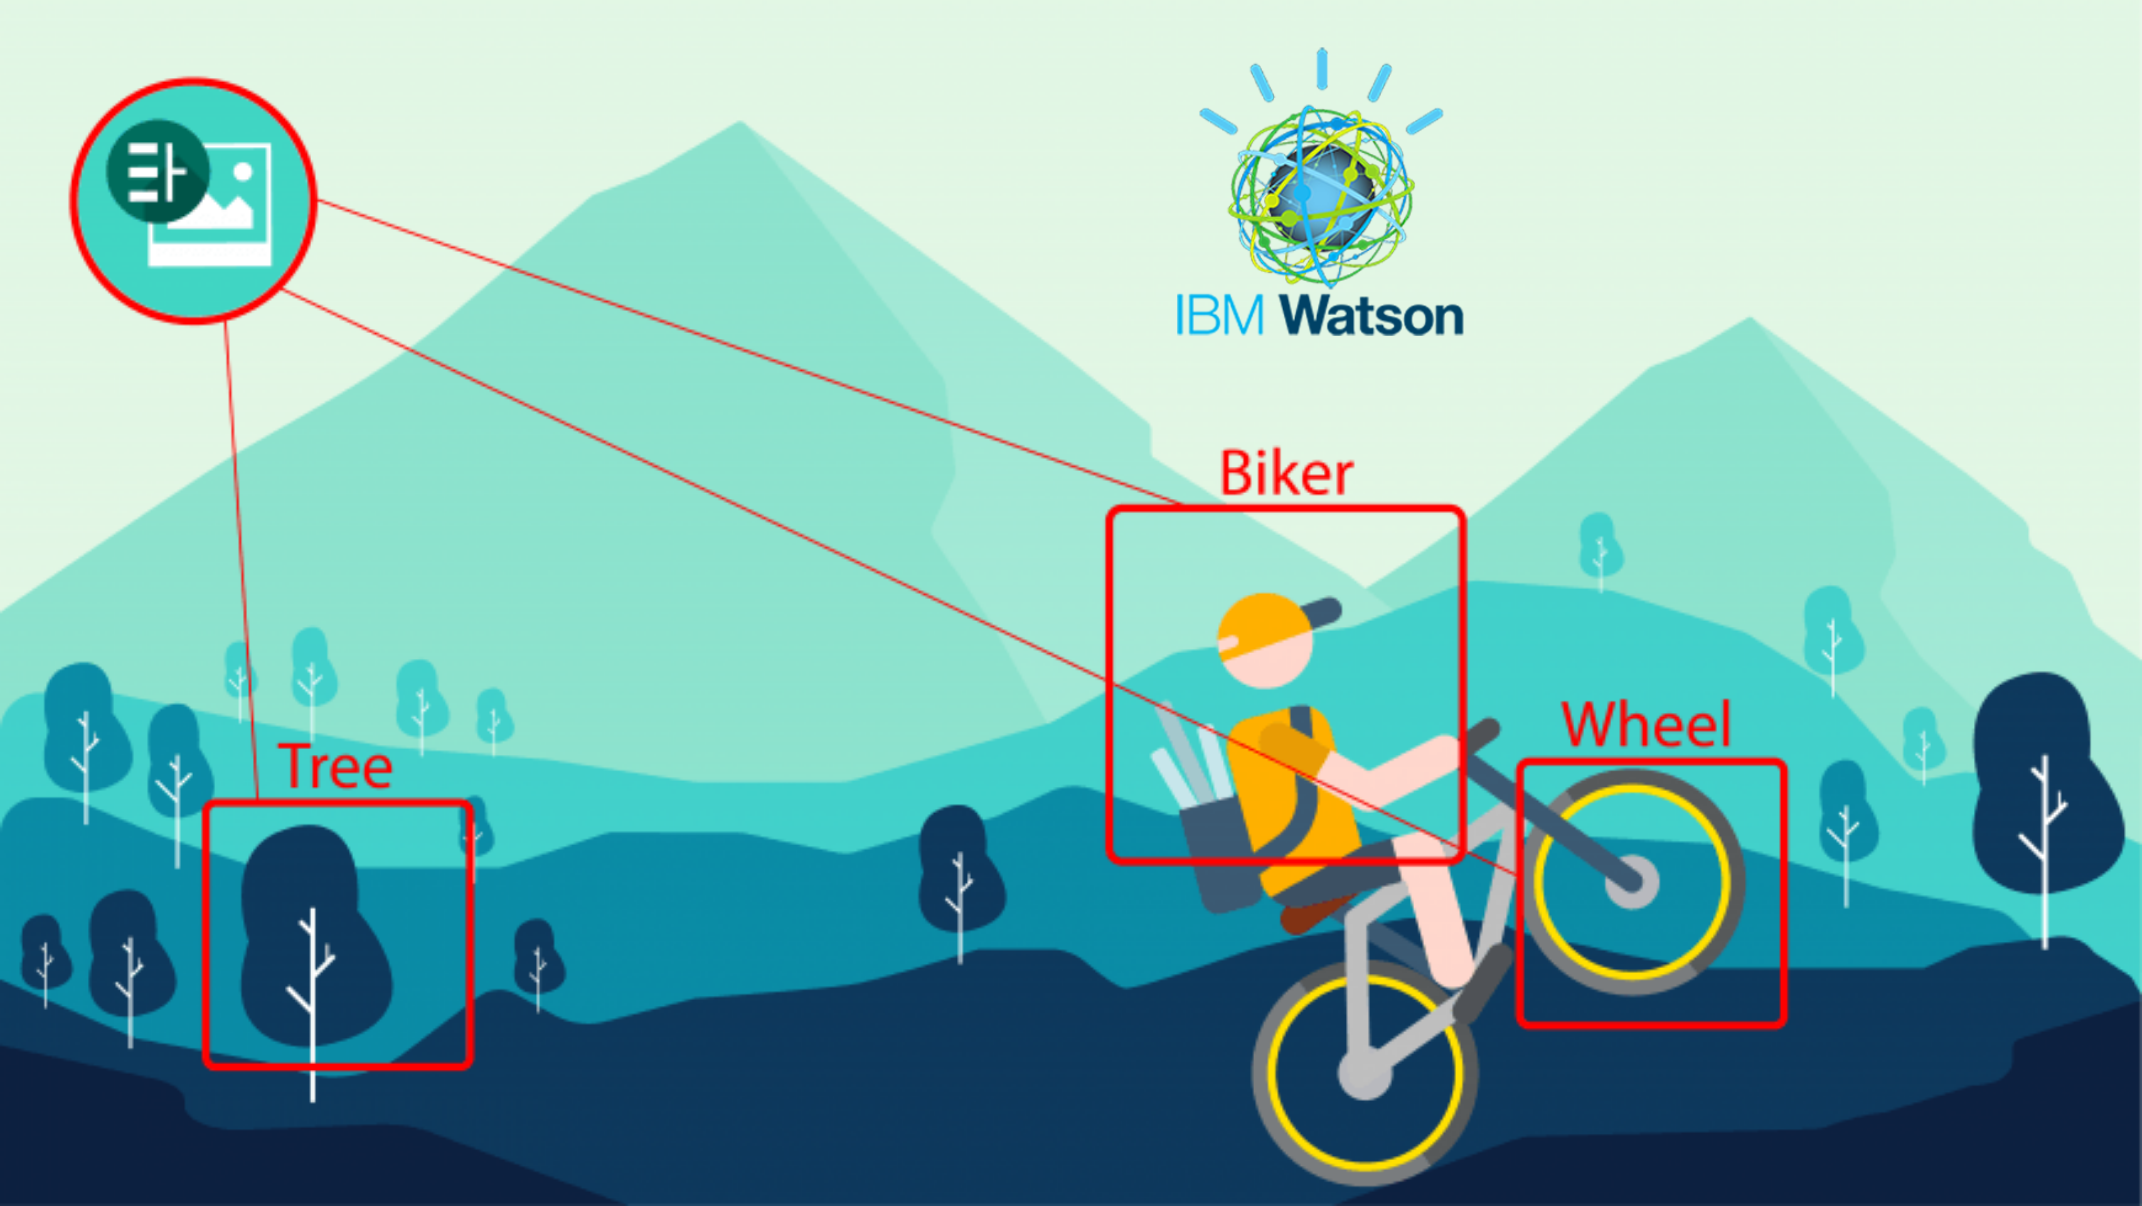
Google’s Tensorflow image recognition system is the most accurate image Classification software right now. Image recognition is a process that involves training of machines to identify what an image contains. To be more precise, it classifies the content present in a given image. This definition might raise a question. “Can the system identify any image given to it ?“The answer to that is no.
The system can identify only those types of images which have been given to it while training. For example, if we train the classifier with 3 classes: “cats”, “dogs” and “cows”, the classifier can then recognize a given image that belongs to only one of those three classes. What would happen if you gave it an image of a camel? The answer will still be one of the three categories the classifier has been trained on. But the confidence score will be quite low.
How does image classification happen?
Image classification involves selecting the class with the highest probability. When the trained system is given an image, the output is a set of probability values, one for each class. We would then select the class with the highest probability.
This also means that if you train a system to classify cats and dogs and if you gave an image of a snake to identify, it will still give you a probability list for cats and dogs being present in that image. This is a disadvantage of a classifier.
Neural Networks and Deep Neural Networks
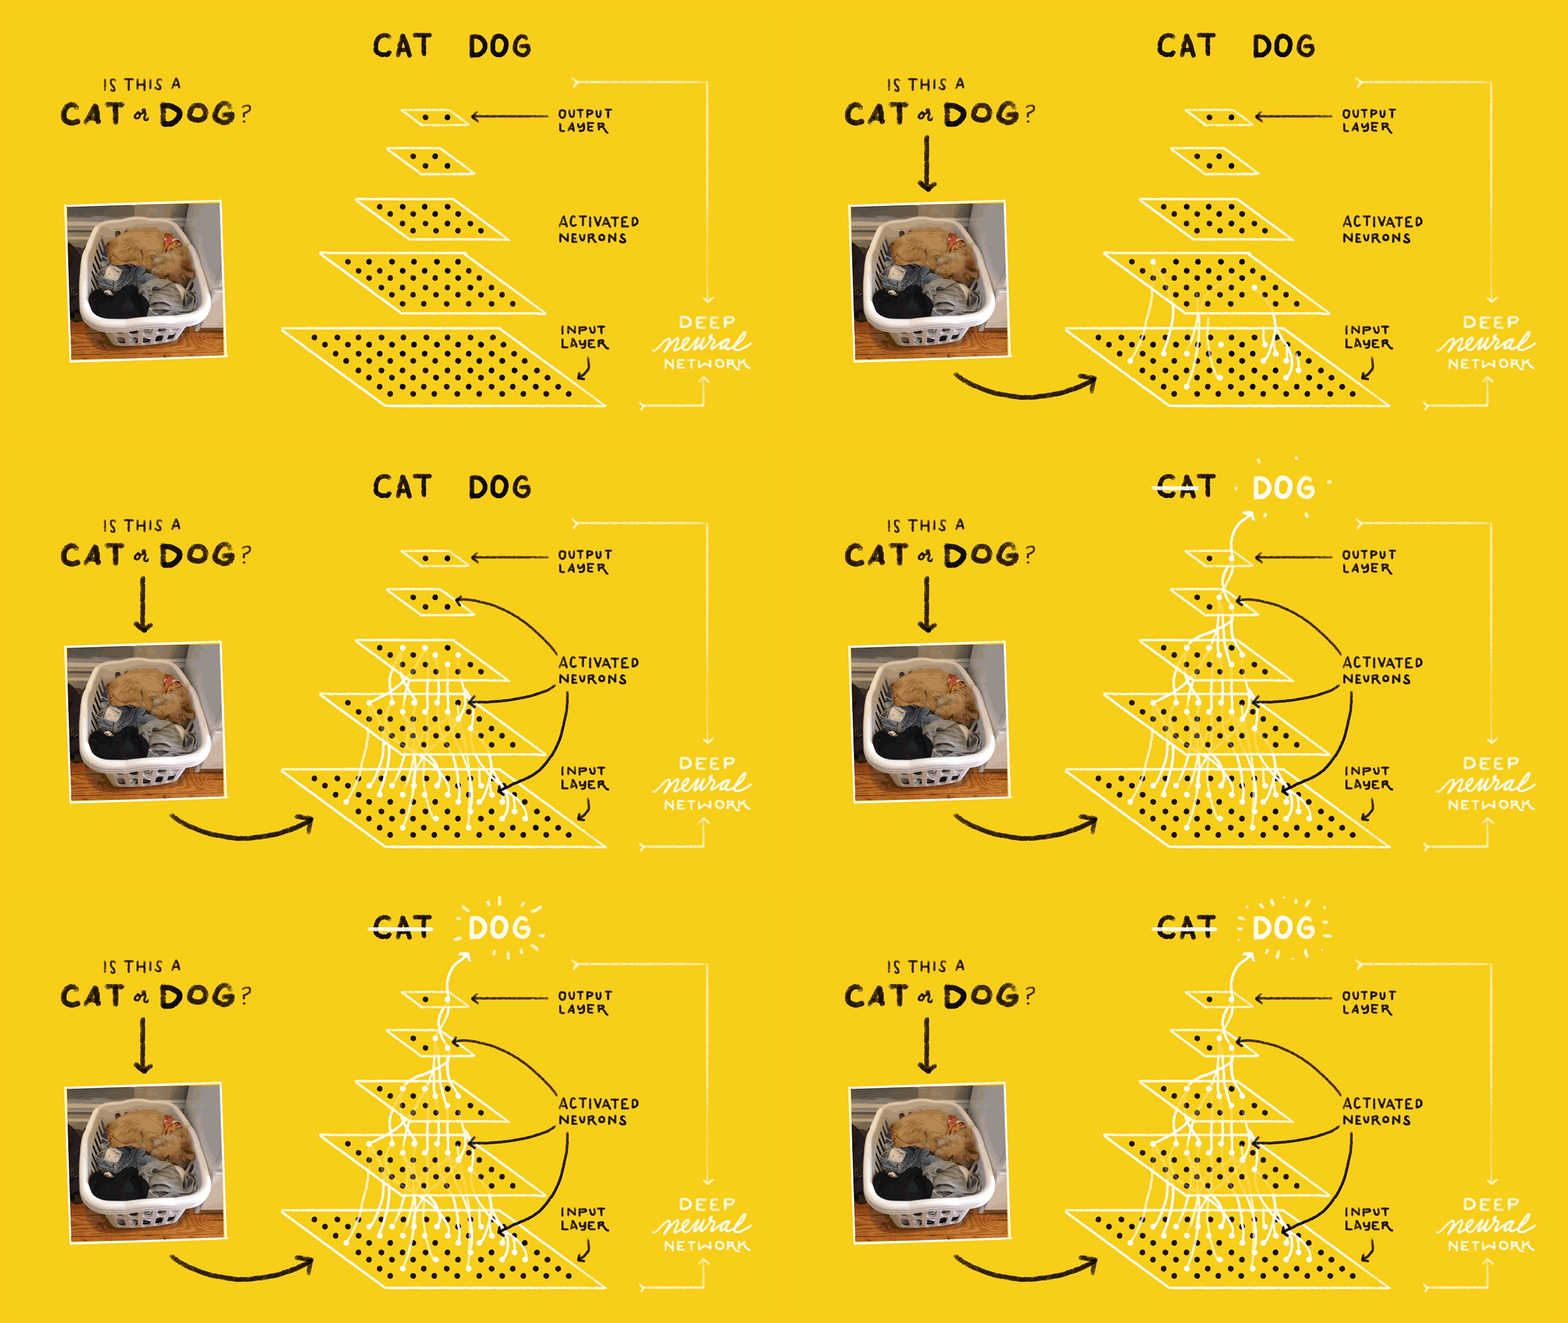
On a high level, neural networks are a connection of computational units that have the capability to learn from a set of data provided to it.
When we stack multiple layers of neural networks we get deep neural networks. This definition is highly simplified, and these are complex concepts that need a lot of time to understand. In this article, we will be using the Tensorflow pretrained models to set up our classifier.
Tensorflow
Tensorflow is a mathematical library which has gained popularity for its deep learning capabilities. Deep learning is the process of building, training and running deep neural networks is called.
Tensorflow was built by google to bring out a standard platform for all types of users ( data scientists, students and other researchers, business analysts, etc). It has a lot of concepts which has been covered in this simplified guide on Tensorflow concepts and jargons.
Pre-requisites for this tutorial
- Tensorflow is set up and installed on your machine.
- You have worked with python before and you are aware of the programming structures.
Training a deep learning classifier from scratch would take weeks if not months depending on the hardware. And to avoid this hassle, we will be using a pre-trained model. The Tensorflow pretrained models are usually capable of identifying around 1000 different categories.
Step 1: Download the pre-trained model, graph, and scripts
Clone the repository and navigate into it using the following commands.
git clone https://github.com/akshaypai/tfClassifier
cd tfClassifier
Step 2: Run the script to find top prediction
You can run this script by providing an image to be classified. By default, the Top 1 result will be shown.
Python classifier.py --image_file file_path_to_image
To get top n classifications, you can use the following parameter.
Python classifier.py --image_file file_path_to_image --num_top_predictions number_of_top_results
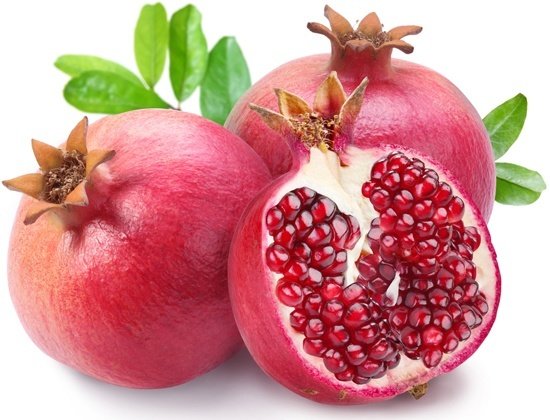
Example: The following result is what we get for the pomegranate image:
python classifier.py --image_file ~/Pictures/fruit.jpg
pomegranate (score = 0.98216)
So, the classifier says that the image is pomegranate with 98% accuracy.
Step 3: Running the script to get top-n identified classes.
Now let us try to give an image which has more attributes like the image of the house below:
python classifier.py --image_file ~/Pictures/house.jpg --num_top_predictions 5

picket fence, paling (score = 0.95750)

worm fence, snake fence, snake-rail fence, Virginia fence (score = 0.03615)

beacon, lighthouse, beacon light, pharos (score = 0.00018)

boathouse (score = 0.00013)

patio, terrace (score = 0.00007)
From the result above, we can see that the classifier has identified with 95% probability that there is a picket fence. However, it has also identified with very little probability that there is another fence, a patio/terrace, etc.
Conclusion
You have now seen how you can setup the tensorflow image recognition system. This, however, restricts you to just classify among the pretrained models. If you want the classifier to classify your own sets of classes or categories, then you would have transfer learning. Transfer learning is the process of training another model from a pretrained model. I have written another tutorial on how to retrain tensorflow inception model.
Interested in learning Deep learning from scratch with Tensorflow? check out this course on Udemy: Data Science: Practical Deep Learning in Theano + TensorFlow . to get 92% DISCOUNT, use the coupon code “FULLUDEMAY” (valid dring May 2017. For more discounts, please comment below)

Hello! Thank you for the excellent post! Did you create the image at the top of the article? If so, how do you make such beautiful animated gifs?
Hi Ben, I haven’t created this GIF and it was created by Google to explain the concept of neural networks.
Tried it, but always get the same result, no matter which image I feed to it.
hi Seb,
I need more details on what image you are using, which OS you are trying this on and what is the output that you are getting in order to help you.
Hey – I have read your Transfer Learning post as well. Have a few questions for you:
a. What is the average pixel size you used for re-training?
b. What is the time complexity you noticed both in straight Classification and for re-training?
Hi.
When you say pixel size, I’m assuming you mean what is the image size I used while re-training. I used 500×500 as a standard size while re-training. I also tried re-training without any standard size, that is all images were of different dimensions and in that case, the accuracy was almost the same.
And regarding the time. The retraining is much much faster when you compare it with training from scratch. Straight Training probably takes more than double the time or even more.
What I can suggest you is to try out re-training and see if you get the accuracy you desire. Only if it does not satisfy your criteria, then, go for training from scratch. From my experience , I was able to get around 94% accuracy for a pretty big dataset by retraining.
Thanks for Replying.
I got your answer for the first question.
And as part of the second q, I am looking for the time complexity you experienced especially while re-training?
With respect to time, it is heavily (stressing again, “heavily”) dependent on the hardware you are running. For example, a 5 class classifier with 1000 images each takes 4 hours to run on a Nvidia 940MX but will complete in less than 30 minutes when running on a Nvidia 1080TI. The time complexity is sometimes linear and sometimes exponential. Many factors here are dependent on data, hardware and type of neural network used. So I cannot give a generic answer to your question.